Hey guys!
But if you missed it the first time, here is a recap!
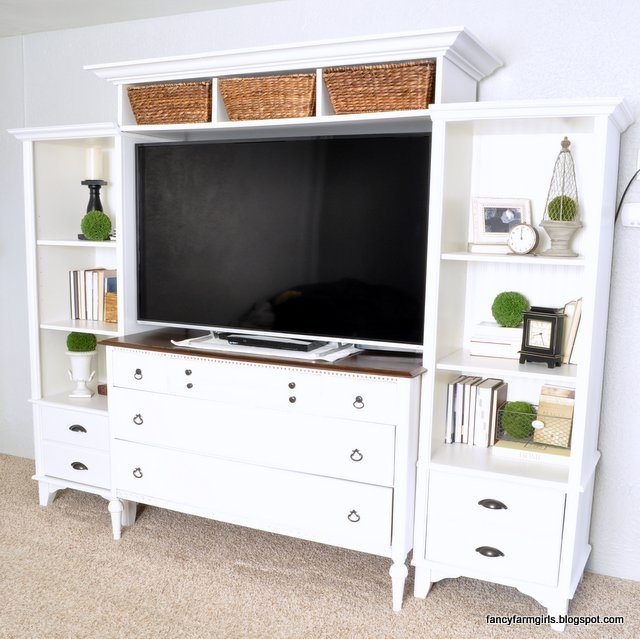
We wanted to share with you how we “built” this entertainment center with ZERO building skills.
We are constantly painting and giving new life to old furniture but neither of us have ever built a piece of furniture or built anything for that matter.
We promise, ANYONE can do this!
The hubby got a new T.V. for Christmas that wouldn’t fit inside an old armoire we’ve had. The armoire had to go.
The initial plan was to just bring in a dresser to repurpose as a media console.
We’ve all seen the dressers, turned media cabinets, but that was going to leave us with nowhere to store our collection of books, sooo…
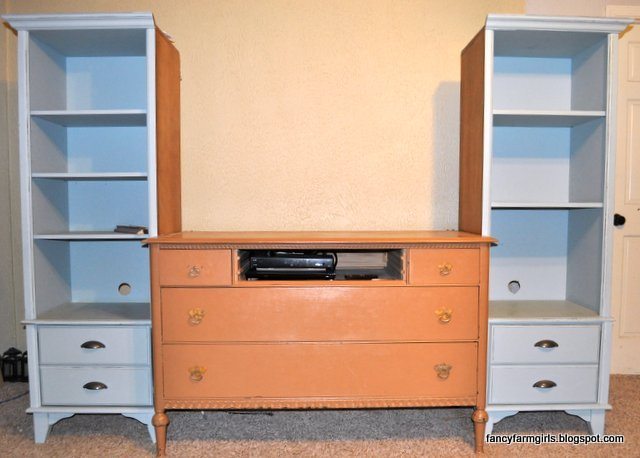
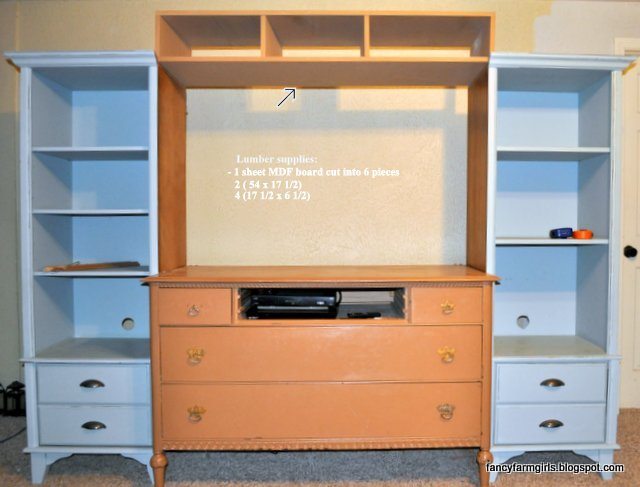
We came up with a plan to use these 2nd hand bookshelves and incorporate them along with a craigslist dresser, using both pieces.
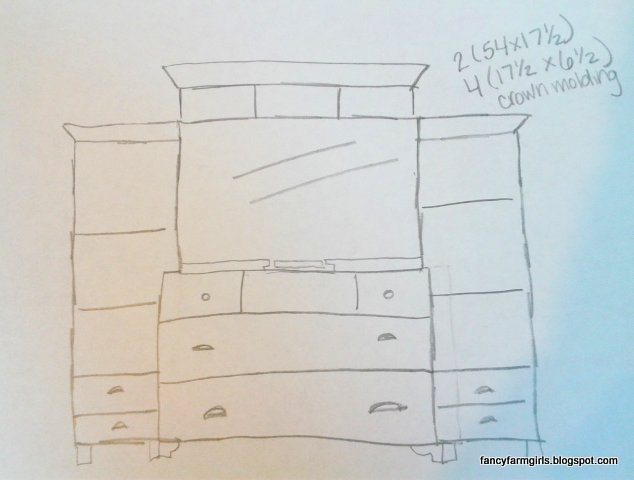
After taking some measurements,
we drew up our version of how to incorporate all the pieces to make it appear as one unit.
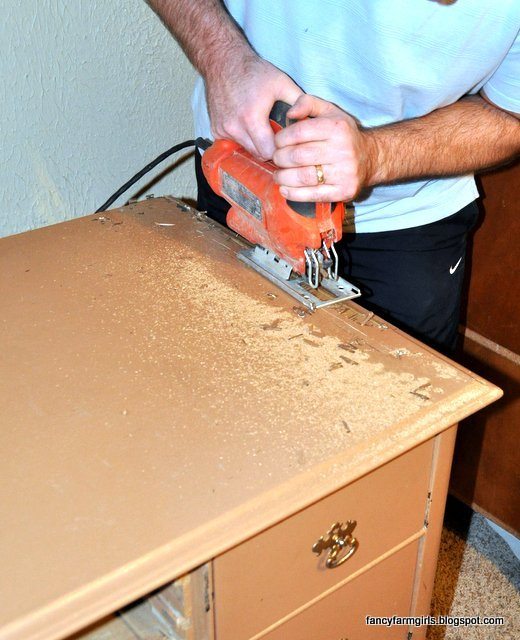
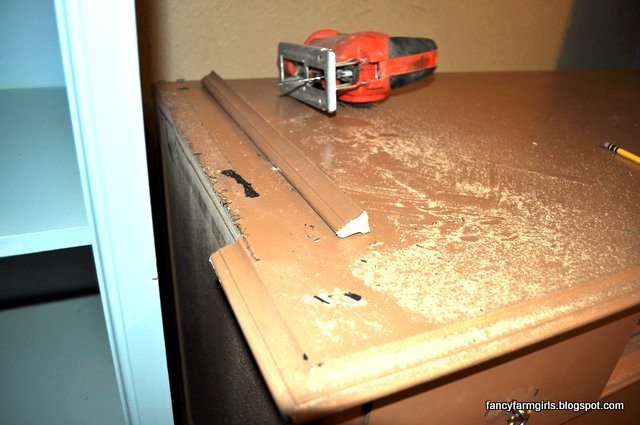
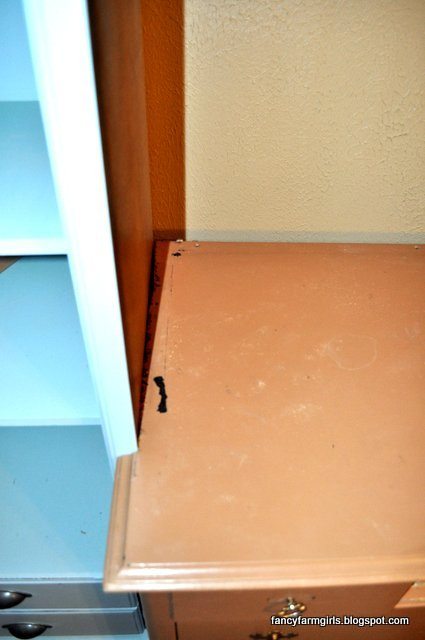
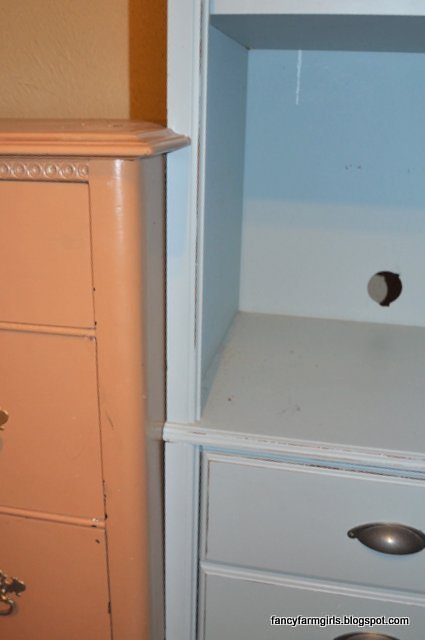
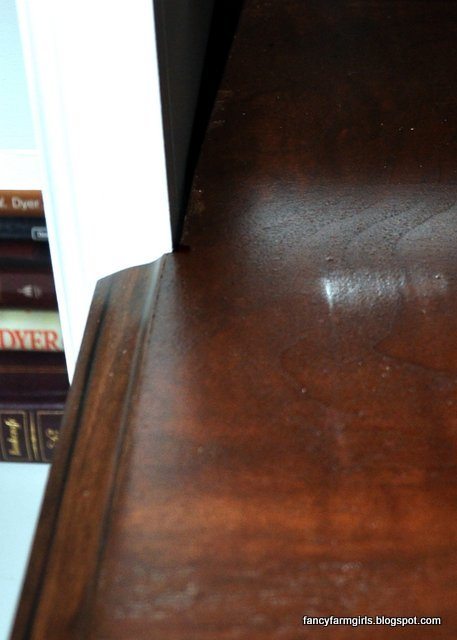
The dresser has an overhang lip all around the top edge which would have left a gap on the sides between the dresser and bookshelves.
So we removed the lip with a jigsaw the depth of the bookcases to allow a snug fit.
I think this part was key.
It gave the illusion of both pieces becoming one.
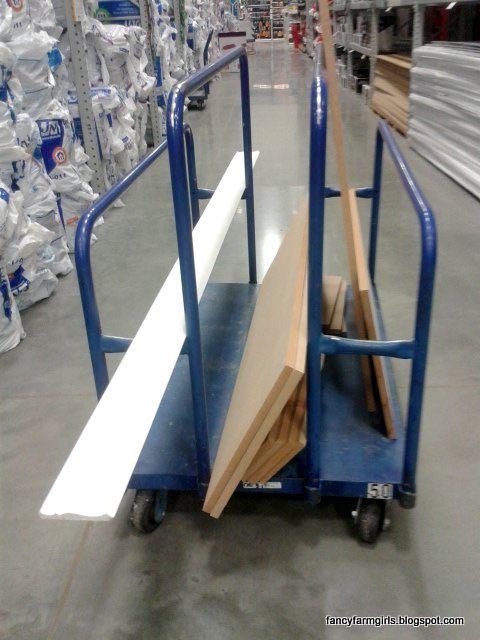
We then headed to Lowes to find a solution to bridge the three pieces together.
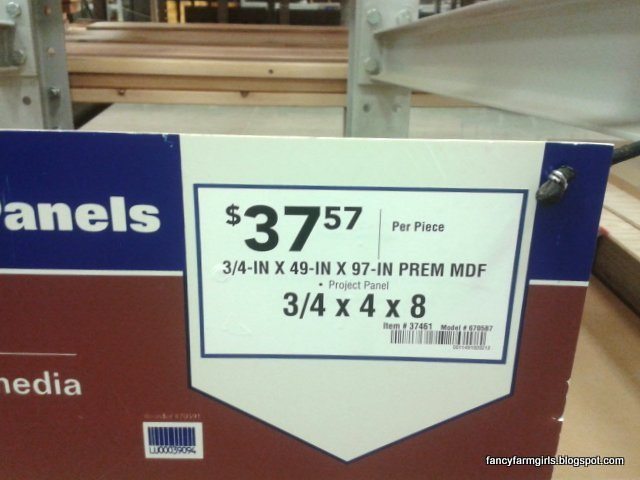
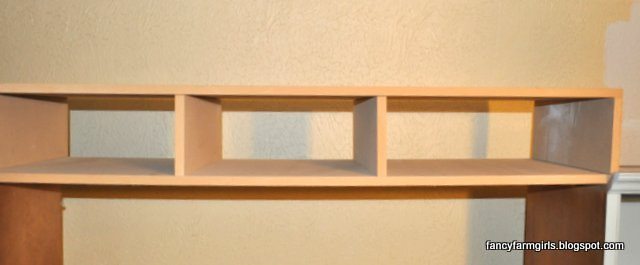
With one piece of MDF we were able to cut 6 pieces of wood to build our box/shelf unit to span the top.
Go with your measurements and Lowes will cut all the pieces for you.
Building supplies:
1 piece of MDF (cut to size)
1 piece of crown molding
That’s it!
The only building we actually did on this piece was a simple shelf to span the top of the two bookcases.
Measurements will vary depending on the pieces of furniture you are working with.
For us, we used two pieces at, 54 x 17 1/2
and 4 pieces for the sides and dividers at 17 1/2 x 6 1/2
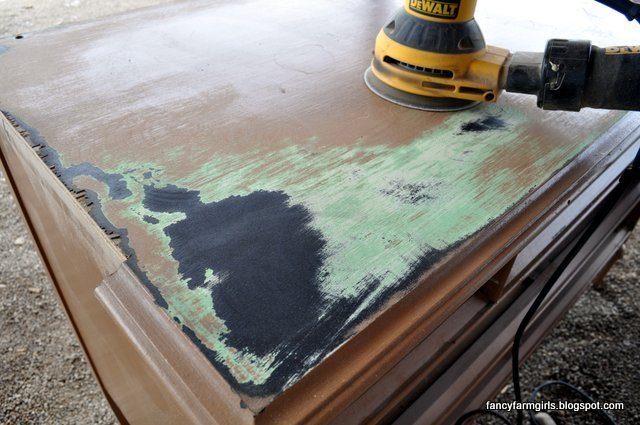
We stripped down the top of the dresser to be able to stain the top.
This piece had 4 different layers/past lives to get off.
This Dewalt orbital sander does an amazing job.
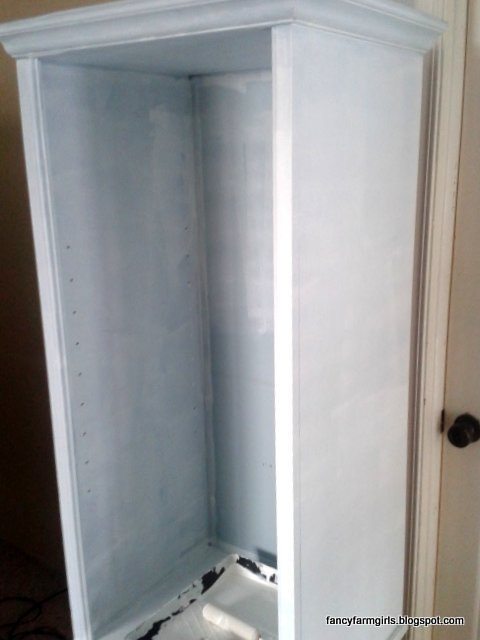
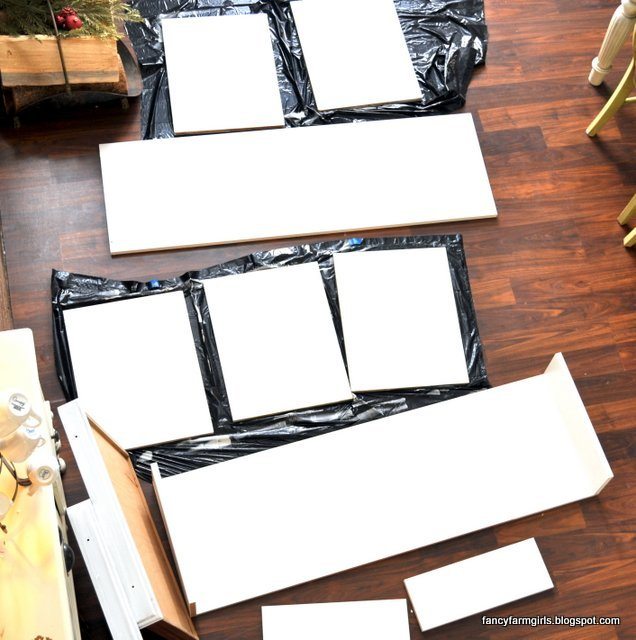
Everything was primed and given a fresh coat of paint.
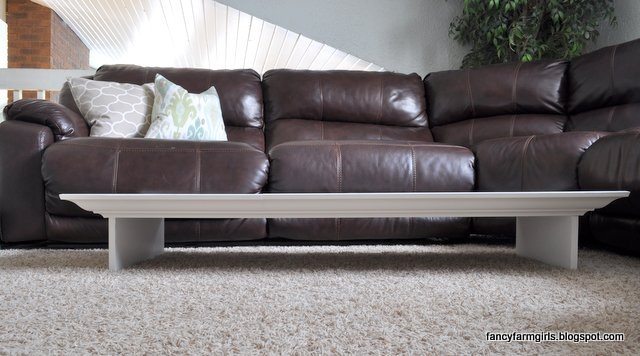
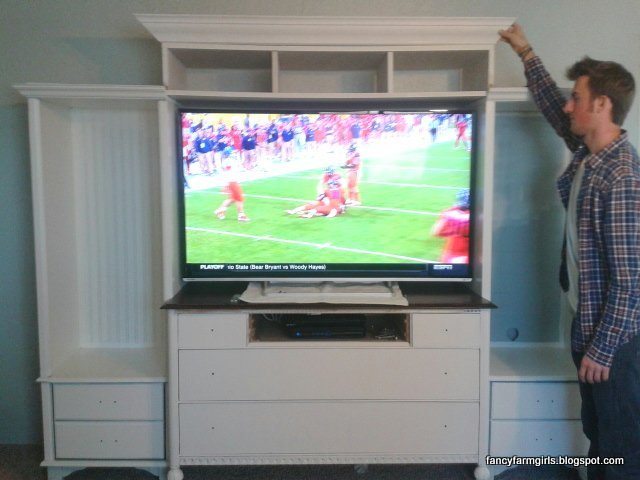
We then added a piece of crown to the top of our box.
I’m not gonna lie, cutting the angles on the crown molding is not for the faint of heart.
We watched a couple of tutorials online but made several oops cuts before handing it over to my husband who was able to get it right for me.
We spaced the dividers to allow space for baskets to be able to double as storage.
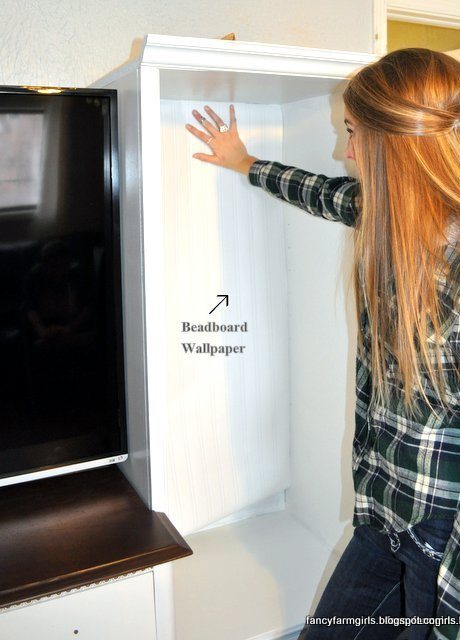
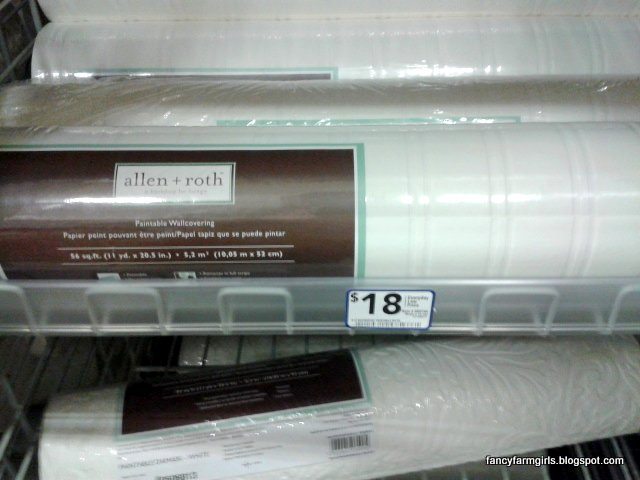
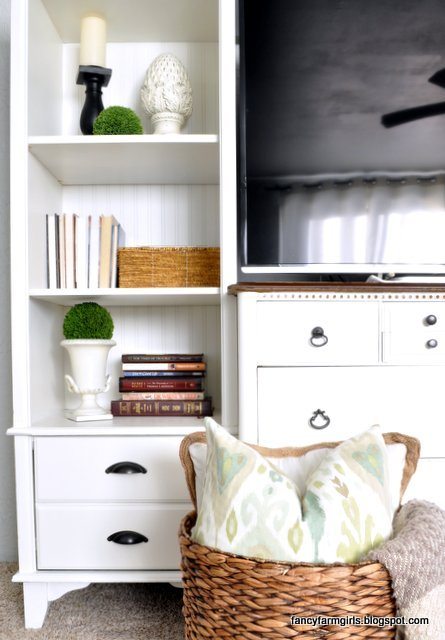
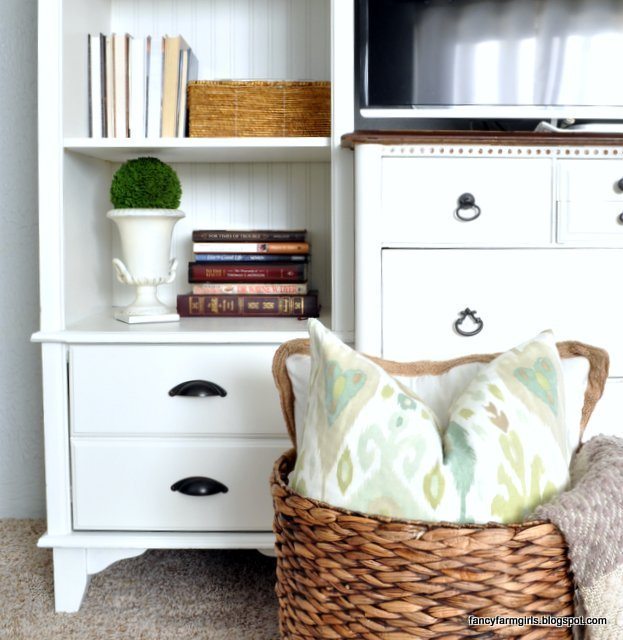
Then lined the back of the bookshelves with this beadboard wallcovering.
This is the same wallpaper I used to transform the backsplash in our kitchen.
This stuff is really durable and washable. This wallpaper actually has a grooved imprint in it so everyone is surprised when they hear it isn’t real beadboard. It looks like the real deal!
That box right there is the only “building” part to this project.
If you can call it even building.( I secured the lower shelf to the bookshelves with a couple of screws, but I glued the rest of the box together with wood glue).
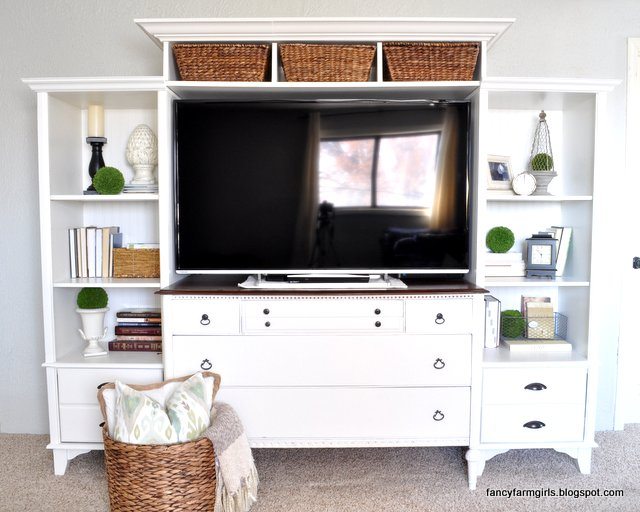
I’m always so amazed at the dramatic transformation just by unifying it all with paint.
(Interrupting my sons football game so I can check out the placement of the crown molding)

We used all existing hardware by just removing the dated backplate and spray painting it with Rustoleums oil rubbed bronze finish.
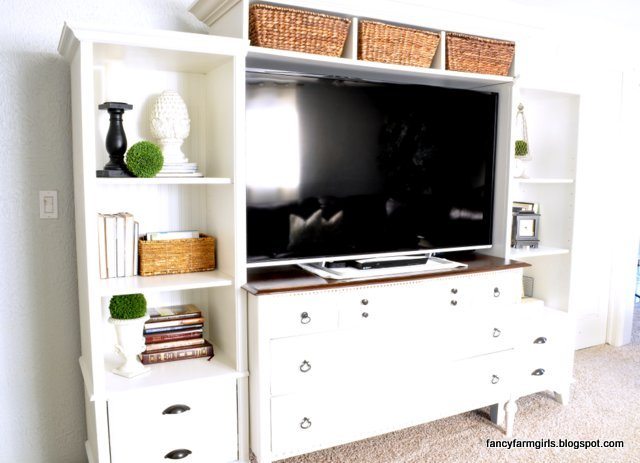
And here’s the Final After!
We were able to gain some storage space with these deep drawers so we were able to keep all of our books here with most of them being hidden.
The cable box and DVD player are all below the TV and the kids gaming stations were moved downstairs.
We routered out holes in the back of the bookshelves if we decide to bring the gaming stations back up they can sit on the bottom shelf of the bookshelves and they have a spot for the chord to hide out the back.
With all the new storage, we were able to leave the shelves open to decorating and not looking so functional.
Not too bad for a first time “build”.
The whole process was surprisingly easy and very doable for any DIYer
It definitely gave me the bug to try out some more build projects.
So go scour your local craigslist or 2nd hand stores, grab some mismatched furniture and see what you can come up with!
Total cost for the project:
2nd hand bookshelves (thrift store) $50
Craigslist dresser $75 (came as part of a bedroom set so I broke down the approx. cost of each piece)
1 piece of MDF $37.57
1 piece of crown molding $18.20
Beadboard wallpaper $18
paint $0 (mixed 3 different leftover white paints I had to come up with this color)
stain $0 (already owned from previous projects. Varathane Dark Walnut)
Total Cost: $198.77
A custom, made by me piece that works perfectly for our home….Priceless!
I think 99.9% of our homes hard furnishings are from refurbished pieces!
Dont forget to follow us on Facebook
and Instagram: FANCYFARMGIRLS
And check out our previous post for our upcoming Sale Date!