Hey Guys!
She has some fun projects going on over there.
If you haven't paid a visit,
you should.
But, if you missed this hutch makeover the first time around
we thought it was worth another go round.
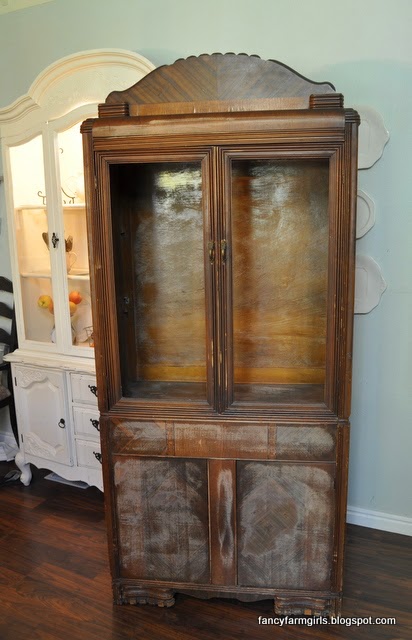
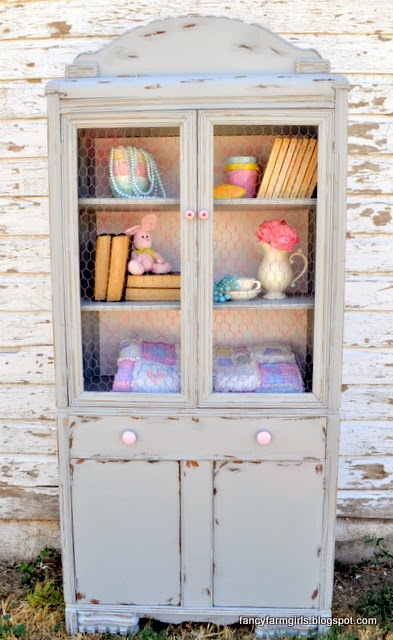
We wanted to show how you can take this uninspiring hutch
and rework it to function in so many different ways.
We chose to show it functioning 3 different ways
in 3 different styles.
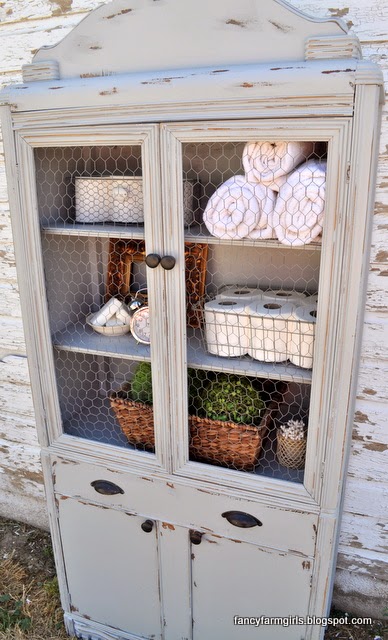
As you can see, this piece was pretty old and worn so it was in need of a fresh finish.
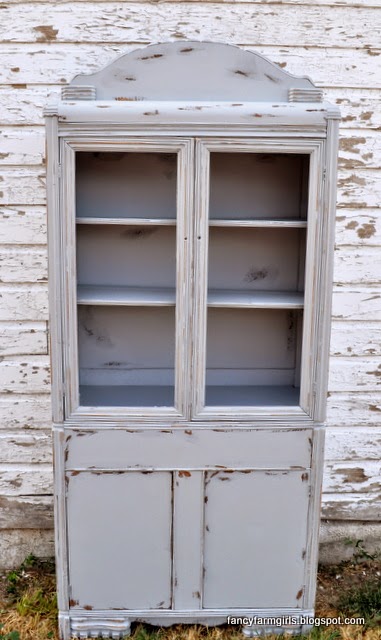
After a quick sanding job,
we painted it in this custom (mix whatever colors we have on hand till we're happy) :) grey color.
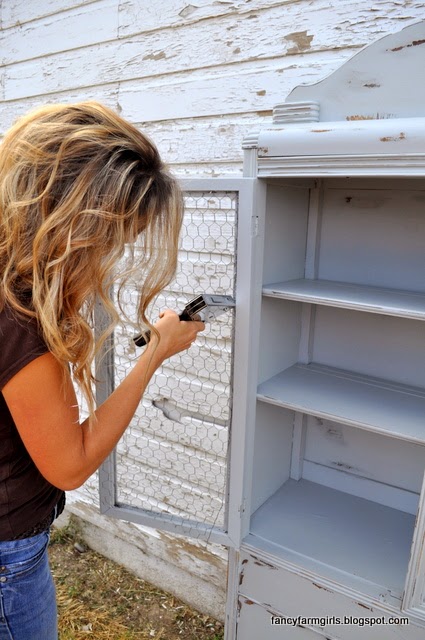
One of the glass panes had been broken out of the doors when we bought it. No worries. We just added in some chicken wire which gives it more personality.
Aaand if you happen to own chickens and don’t want to make a trip to the store you can just cut a section off their pen.
Yep, that’s what we did.
Redneck, or resourceful? We’ll let you choose

Ok,
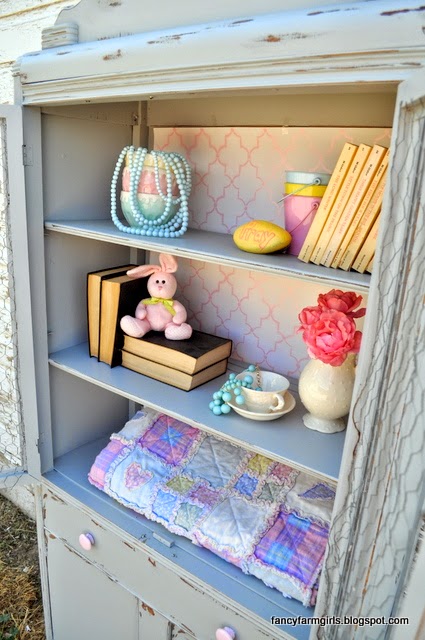
1st look:
Little Girl’s Room
We started by stenciling the back to add some whimsy.
For that, we just used poster board that we stenciled so we could easily pop it in and out to change the look.
We added pink knobs and accessories and this hutch is now perfect for a little girl’s room!
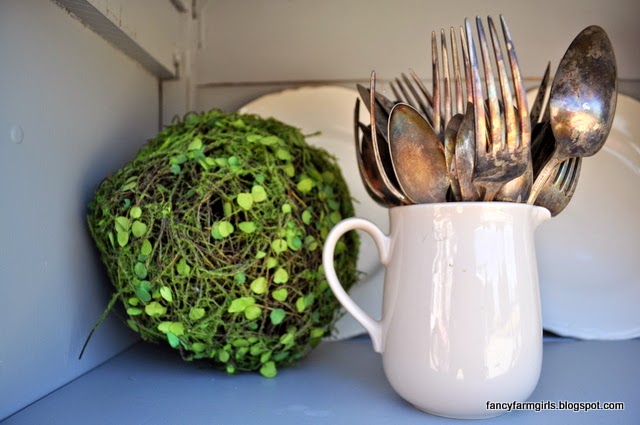
2nd Look:
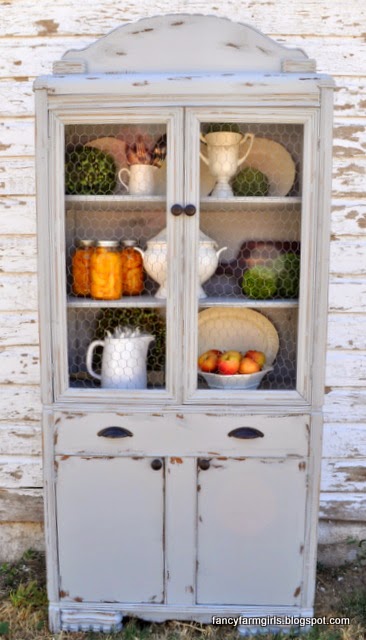
Kitchen hutch.
We changed the knobs to oil rubbed bronze and added dishes and kitchen accessories.
This is storage at it’s finest.
Functional and beautiful!
And,
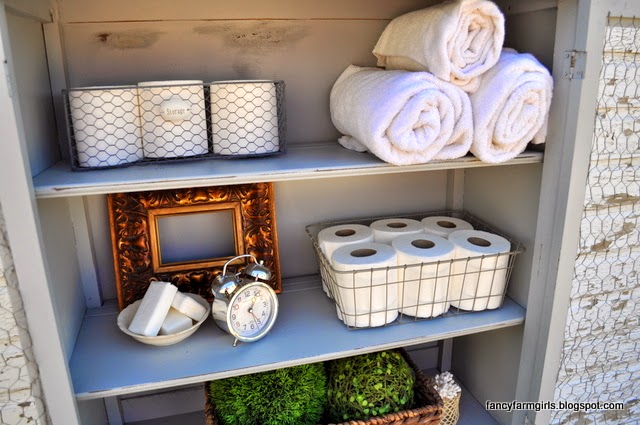
3rd Look:
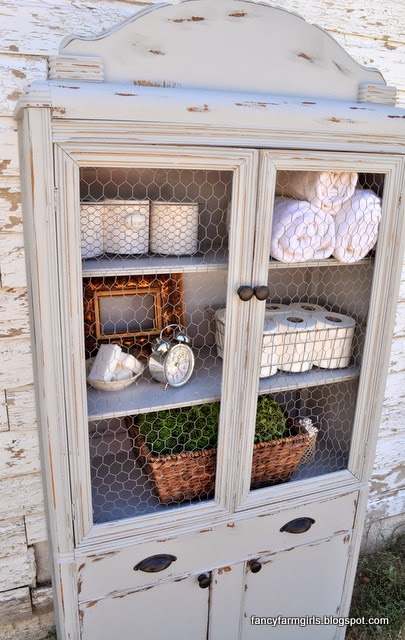
The bathroom.
If you’re lucky enough to have room for a hutch, these are great.
You’ve got to store the not so glamorous needed items,
you might as well do it in style.
"Old School" rules of hutches designated strictly for kitchens,
or any furniture for that matter,
are in the past.
Rework your furniture to work for you.


